
SOCCER SHOE FIT GUIDE
How to Break In Soccer Cleats
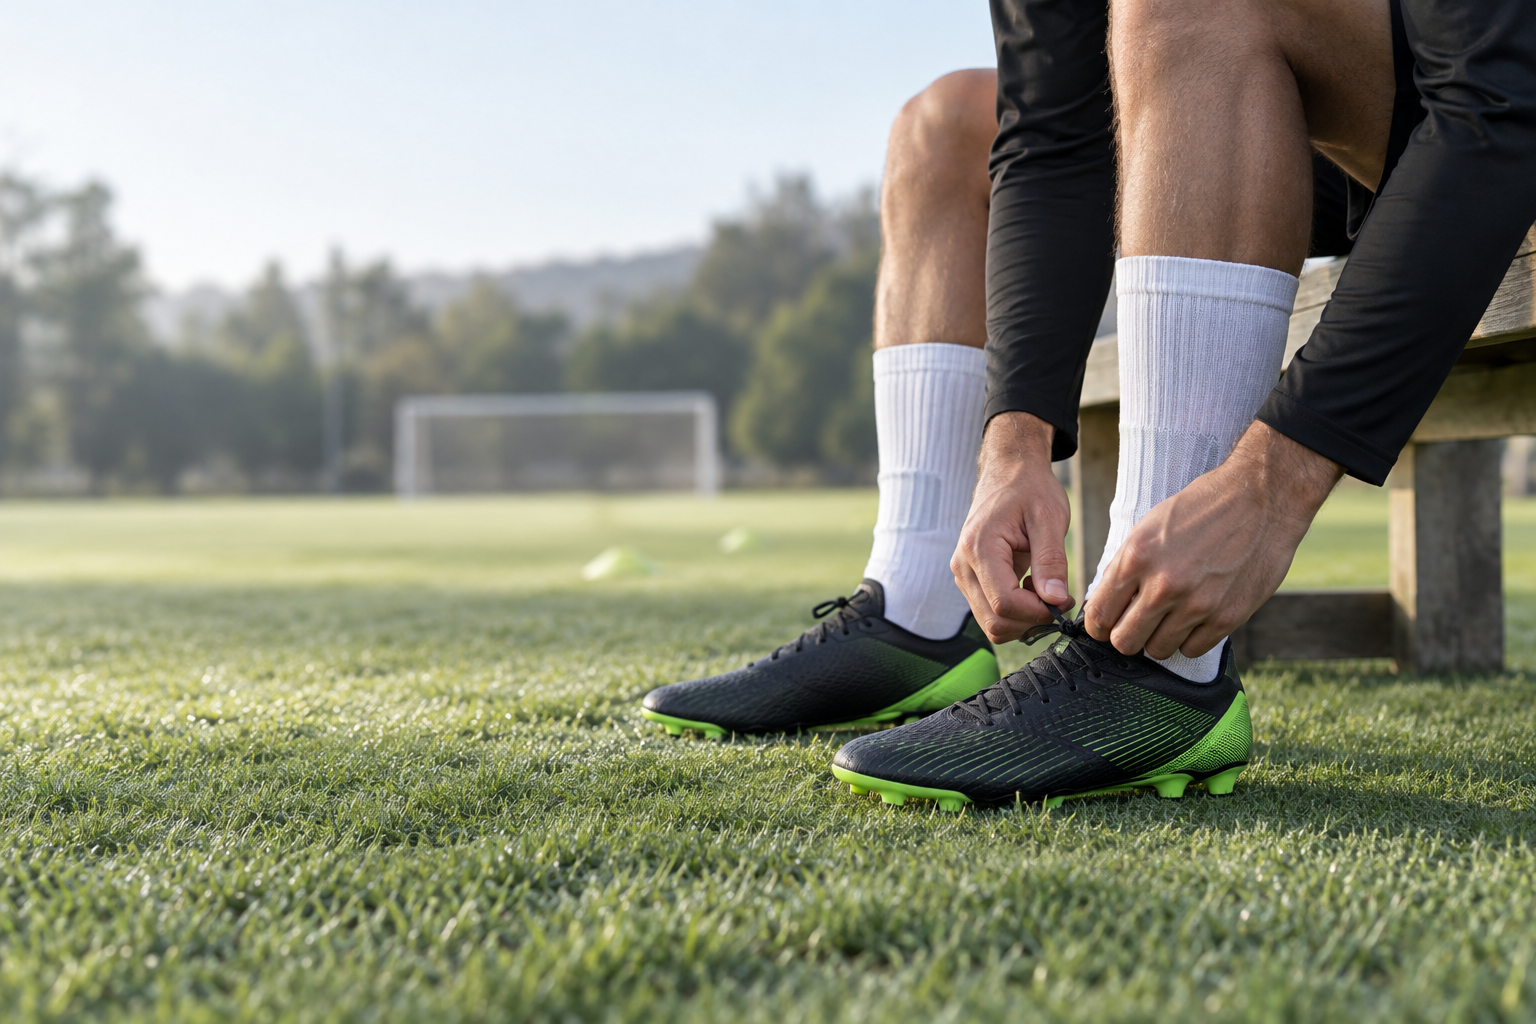
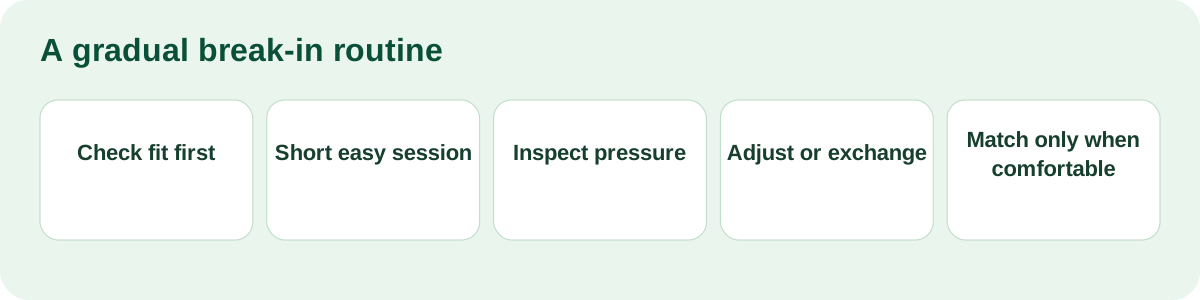
New soccer cleats may feel firm around the upper, heel, tongue, or soleplate. The sensible way to break them in is gradual: confirm the fit, wear your usual socks, start with short sessions, and add light ball work before demanding training or a match. Do not try to force a quick result by soaking, overheating, or aggressively bending the shoe. A gradual routine can improve comfort in a correctly fitting pair, but it cannot make cleats that are too short, too narrow, or persistently painful become suitable.
Quick Reference
- Confirm the fit before breaking in
- Wear your normal soccer socks
- Start with short indoor sessions
- Add light ball work before training
- Protect known friction points
- Never rely on soaking or high heat
- Stop if pain continues
- Use footwear made for your playing surface
OVERVIEW
The Safe Way to Break In Soccer Cleats
Breaking in soccer cleats means allowing the upper, laces, insole, and your feet to adapt gradually. A correct pair should feel secure and close-fitting, but it should not cause numbness, sharp pain, or repeated blistering.
For most players, the practical route is short wear at home, a low-intensity session, and then a controlled training session. That sequence reveals where a shoe rubs before the player is committed to a full game. It also creates time to adjust lacing, socks, or a protective covering at a known friction point.
How long does it take to break in soccer cleats? There is no universal number. Upper material, foot shape, fit, lacing, and the type of movement all matter. Some new cleats feel settled after a few short sessions. Others need a slower routine. The important measure is comfortable, stable movement rather than a calendar deadline.
Think of the process as a conversation between the shoe and your normal playing routine. A brand-new upper may have a different feel around the toes or arch simply because it has not yet been worn during familiar movements. Short sessions give that feel time to become clearer. They also make it easier to separate a temporary adjustment from a real fit problem.
Start with the same socks, lacing pattern, and surface category you expect to use later. Changing all three at once makes it difficult to know why a pressure point appeared. If one change improves comfort, keep it for the next short test. If the issue grows, stop and return to the starting fit check instead of adding more intensity.
| Can Help With | Cannot Fix |
|---|---|
| Slight upper stiffness | Shoes that are too short |
| Minor heel rubbing | Severe width pressure |
| Lace pressure adjustments | Toe pain |
| Getting used to a close fit | Ongoing numbness |
| Learning a new shoe feel | Incorrect surface outsole |
MAIN CONTENT
Start With the Right Fit
Fit comes before break-in. A new pair can feel more structured than a well-used pair, yet there is a meaningful difference between a close soccer cleat fit and a shoe that pinches. Put on the socks you normally use for soccer, lace both shoes for a normal session, and test them while standing and moving. Check the heel, forefoot, instep, and toe area instead of deciding only from the label size.
Walk, bend your knees, rise onto the front of the feet, and make a few light directional movements. The heel should stay controlled without painful pressure. Toes should not press hard into the front. The forefoot should feel supported without sharp side pressure. Use footwear appropriate for the playing surface, because an unsuitable outsole can change both comfort and stability during movement.
- Wear the socks normally used for soccer
- Check that toes do not press hard into the front
- Confirm the heel stays secure
- Check for painful pressure across the forefoot
- Walk, bend, and make light directional movements
- Consider the playing surface before choosing the outsole
Stop and Reassess
Do not try to break in cleats that cause sharp pain, toe compression, numbness, or intense side pressure. Those signs call for a fit review, not a more aggressive break-in method.
Wear New Cleats at Home First
The first session should be low-risk. Wearing new cleats indoors does not recreate a match, but it reveals immediate pressure without adding sprinting, weather, or a rough field. Use a clean indoor surface where the outsole is suitable, and keep the first session short. This is also a useful time to notice how the tongue sits and whether one lace area feels tighter than the other.
- Put on match socks.
- Lace the cleats as you would for a game.
- Walk indoors for 15 to 30 minutes.
- Sit, stand, bend, and move naturally.
- Note pressure around the heel, tongue, arch, and forefoot.
- Remove the cleats and inspect for hot spots.
Why This Works
- Lets feet adapt gradually
- Reveals friction points early
- Avoids testing new cleats during an important match
- Helps identify lacing adjustments before field use
After removing the pair, check the skin and the socks for a rub mark. A small warm area is information: it may respond to lacing, a better sock choice, or early protection. Persistent pain is a reason to stop.
Indoor wear is also a chance to hear and feel the shoe without field distractions. Notice whether the heel moves as you climb stairs, whether the tongue shifts when you bend, and whether one foot feels different from the other. Feet are not always identical, so a small lace adjustment on one shoe can be reasonable. The goal is not to make the cleat loose; it is to make pressure even and predictable.
Use Your Normal Soccer Socks
Socks affect the practical feel of a soccer cleat. They change how the heel sits, how the forefoot fills the upper, and where fabric moves against the skin. The aim is to recreate match-day conditions, not to stretch the shoe with a sock you would never actually use for soccer.
| Sock Choice | Best Use | Potential Issue |
|---|---|---|
| Normal match socks | Best baseline for break-in | None if they are your usual playing socks |
| Thin casual socks | Only for ordinary home wear | May not represent game-day fit |
| Thick socks | Only when normally worn for play | Can create artificial pressure |
| Worn-out socks | Not a useful fit test | Can move and increase friction |
| Clean moisture-managing soccer socks | Training and match preparation | Still need to be dry and correctly sized |
Clean, dry socks are useful because they keep the test consistent from one short session to the next. Avoid assuming that thicker socks will solve a bad soccer cleat fit. They may simply add more pressure in a pair that is already too tight.
Fix Pressure With Lacing First
Before changing the shoe, review the lacing. Laces influence how pressure is distributed across the tongue and instep. Small adjustments can make a useful difference without trying to stretch or alter the upper. Change one thing at a time, then walk or do light ball work again to see whether that exact area feels better.
Heel Pressure
Keep the lower laces comfortably secure and avoid over-tightening the top of the collar. If the heel rubs, check whether the sock has folded or whether the heel is moving because the shoe is too loose.
Tight Forefoot Pressure
Use an even lace tension and avoid pulling the lower rows excessively tight. If width pressure remains strong with a normal, secure lace setup, pause rather than forcing more sessions.
Tongue Pressure
Center the tongue before tightening. Make sure it is not folded or bunched, then spread tension evenly across the upper instead of tightening one row sharply.
Heel Slip
Work toward a secure heel with a controlled top-lace adjustment. If the heel continues to lift significantly, reassess the fit and shape of the shoe.
Uneven Pressure Over the Foot
Loosen the section directly above the pressure point slightly, then retest. Do not create a loose shoe simply to escape one narrow point of discomfort.
| Pressure Point | First Adjustment to Try | When to Stop |
|---|---|---|
| Heel | Check sock position and controlled top-lace tension | Sharp rubbing or repeated heel lift |
| Forefoot | Use even lower-lace tension | Persistent side pressure or numbness |
| Tongue | Center the tongue and spread tension | Folded tongue or painful instep pressure |
| Top of foot | Ease the lace section over the pressure point | Ongoing pain while walking |
Add Light Ball Work
After indoor wear feels comfortable, add short, low-intensity ball work on the correct surface. The goal is to feel the shoe during soccer movements without turning the session into a test of endurance. Use the outsole category that is appropriate for the field and follow the facility rules.
- Gentle walking
- Light juggling
- Short passing
- Controlled dribbling
- Easy shooting
- Low-intensity changes of direction
Check the heel and forefoot after each activity. A player may find that a shoe feels fine while walking but develops pressure while receiving a ball or turning. That does not mean the answer is a full match. It means the next session should remain controlled while the player adjusts lacing or protection.
Use this stage to check stability as well as comfort. A cleat that feels comfortable but slides at the heel during a controlled cut still needs attention. Pause, review the lace tension, and confirm that the outsole is intended for the surface. A correct surface category helps the player test normal soccer movement without adding an avoidable traction variable.
Do not begin with a full match, repeated sprinting, or a long high-intensity training session. New cleats should earn match use through comfortable movement, not through a forced first outing.
A Practical Three-Session Break-In Plan
A short plan gives the player time to observe the shoe rather than hoping it changes all at once. These are approximate durations, not a promise about how quickly every pair will settle. Materials, foot shape, previous footwear, and session intensity can all change the pace.
| Session | Approximate Duration | Activity | What to Check |
|---|---|---|---|
| Session 1 | 15 to 30 minutes | Indoor wear and walking | Heel and toe pressure |
| Session 2 | 20 to 40 minutes | Light ball work | Lace pressure and upper comfort |
| Session 3 | Short training session | Passing and controlled movement | Friction and stability |
| Match readiness | Only after comfortable training | Normal match activity | No significant hot spots |
Use the time between sessions to let the cleats dry and to note where pressure appeared. Do not rush directly from a short first test to a competitive game because the pair felt acceptable while standing still.
Players returning from an injury, changing footwear categories, or moving to a different playing surface may prefer more small sessions before competitive use. That is a sensible way to collect more information, not an indication that every pair requires an extended ritual. Keep each early session below match intensity, then decide based on comfort, secure heel hold, normal toe room, and the absence of meaningful hot spots.
Blister Prevention for New Soccer Cleats
Blisters from cleats often begin as small friction areas. The most useful response is early observation. Check the heel and toes before a session, use clean dry soccer socks, and protect a known friction point before it becomes a larger problem. A player should not try to play through severe rubbing simply because the cleats are new.
- Use clean, dry soccer socks
- Check heel and toe areas before training
- Cover known friction areas early when needed
- Keep toenails trimmed
- Avoid playing through severe rubbing
- Let cleats dry fully between sessions
- Do not wear wet cleats
| Hot Spot | Pain |
|---|---|
| Mild friction noticed early | Sharp, persistent, or worsening discomfort |
| May respond to lacing or early protection | Calls for stopping and reassessing fit |
| Should be checked after a short session | Should not be pushed through in a match |
Repeated blistering, numbness, or intense pressure suggests more than routine adaptation. Review the shoe size, width, shape, socks, and lacing before adding more break-in time.
Avoid These Cleat Break-In Mistakes
- Do not soak soccer cleats in water. Water is not a reliable shortcut for fit and can leave a shoe wet inside.
- Do not use direct heat. A radiator, hair dryer, dryer machine, or strong sun can expose materials to unnecessary heat.
- Do not force the upper by aggressive bending. Let normal movement reveal how the shoe feels.
- Do not wear new cleats for a full competitive match first. Build up through short sessions.
- Do not ignore toe pain or numbness. Those are fit signals, not a standard stage of breaking in.
- Do not use the wrong outsole for the playing surface. Confirm the field and facility requirements.
- Do not assume every cleat will stretch enough to solve a bad fit. A poor starting fit remains a poor starting fit.
New cleats can be cared for and tested patiently, but no break-in routine should override the product guidance or a clear sign of poor fit.
Leather, Synthetic, and Knit Uppers
Upper construction affects the first feel of a cleat. Leather, synthetic, knit, and hybrid uppers can feel different around the forefoot and instep. That does not justify forcing any material with heat or soaking. Use ordinary movement, short sessions, and the manufacturer’s product guidance for the specific model.
| Upper Type | Typical Feel When New | Break-In Approach | Main Caution |
|---|---|---|---|
| Leather upper | Structured and close | Gradual normal wear | Do not over-wet or force it |
| Synthetic upper | Consistent, sometimes firm | Short indoor and light field sessions | Do not assume it will solve width pressure |
| Knit or textile upper | Flexible with a close wrap | Check lacing and friction areas early | Avoid aggressive pulling or heat |
| Hybrid upper | Varies by panel construction | Follow product-specific guidance | Inspect different material zones |
Test Cleats on the Surface You Will Use
Comfort and traction are linked to outsole choice. A cleat that feels manageable in a hallway may behave differently on grass, artificial grass, or turf. Test the shoe on the surface it is meant for only when it is appropriate and permitted. Follow facility rules and choose the correct footwear category for the field.
| Playing Surface | Typical Soccer Shoe Category | Break-In Test Advice |
|---|---|---|
| Firm natural grass | Firm Ground Soccer Cleats | Start with controlled touches and turns |
| Artificial grass | Artificial Grass Soccer Cleats | Check comfort during short directional movements |
| Wet or soft grass | Soft Ground Soccer Shoes | Confirm the field conditions and facility guidance |
| Short, hard turf | Turf Soccer Shoes | Use a short, controlled session first |
Signs Your Cleats Are Match Ready
Match readiness is based on useful evidence from comfortable sessions. The pair does not need to feel identical to a well-worn old shoe. It should, however, feel predictable enough that the player can focus on the game rather than managing pain or pressure.
- You can walk and jog without pain
- The heel stays secure
- Toes do not hit the front
- There are no major hot spots
- You can pass, turn, and strike comfortably
- The outsole suits the field surface
- You have completed at least one comfortable light training session
Keep New Cleats in Good Condition
Care after each break-in session keeps the next test more consistent. Remove loose dirt, air the pair out, and do not leave damp cleats in a closed bag. A dry, clean shoe is easier to assess than one carrying moisture and turf debris from the previous session.
- Remove loose dirt after use.
- Wipe the upper with a soft damp cloth when needed.
- Remove the insole if it is damp and designed to be removable.
- Let the cleats air dry at room temperature.
- Use paper or a shoe tree to help maintain shape.
- Store cleats away from direct heat and sunlight.
For the full cleaning routine, read How to Clean Soccer Cleats. The manufacturer’s product care instructions still take priority when they differ from general guidance.
FAQ
Frequently Asked Questions About Breaking In Soccer Cleats
How long does it take to break in soccer cleats?
It varies with fit, foot shape, upper construction, and session intensity. Use short, comfortable sessions and judge readiness by movement without significant hot spots rather than a fixed number of days.
Should I change my lacing for every session?
Start with the lacing pattern that feels most even, then make one small adjustment only when you can identify a specific pressure point. Repeatedly changing the entire setup can make it harder to understand what is helping.
Can I wear new soccer cleats in a game?
It is better to wear them first in short indoor and light training sessions. A game should not be the first time you discover heel rubbing, toe pressure, or an unsuitable lace setup.
Should soccer cleats hurt when breaking them in?
They may feel firm or unfamiliar, but sharp pain, numbness, hard toe compression, and repeated blistering are not signs to push through. Stop and reassess fit.
Can I use hot water to break in soccer cleats?
No. Do not use hot water or soaking as a shortcut. It is not needed for a gradual break-in routine and can leave the shoe unnecessarily wet.
Can I put soccer cleats in a dryer?
No. Let them air dry at room temperature. Avoid dryer machines, radiators, and hair dryers unless the product care instructions explicitly say otherwise.
What should I do if new cleats cause heel blisters?
Stop before severe rubbing develops. Check sock position and lacing, protect a known friction area early when needed, and reconsider fit if the issue repeats.
Will soccer cleats stretch if they are too tight?
Breaking in can improve comfort in a correctly fitting pair, but it cannot reliably correct a shoe that is too short, too narrow, or painful in a persistent way.
Should I wear thick socks to break in new cleats?
Use the socks you normally wear for soccer. Thick socks may create pressure that does not reflect your actual match-day fit.
Do leather soccer cleats break in differently from synthetic cleats?
Materials may feel and adapt differently, so follow the product care guidance and use gradual normal wear. Do not force either material with high heat or soaking.
How do I know if soccer cleats are the wrong size?
Hard toe contact, severe side pressure, ongoing numbness, heel instability, or pain that persists after sensible lacing adjustments are reasons to reassess size and shape.
Can I use the same new cleats on every surface?
Choose the outsole category for the field you will use and follow facility guidance. A break-in session should not become a reason to use an unsuitable shoe on a surface where it is not intended.
SUMMARY
Break In Soccer Cleats Gradually
New cleats should be prepared through a short, patient sequence: confirm the starting fit, recreate match-day conditions with normal socks, and add light soccer movement only after indoor wear feels comfortable. Keep the process proportional. A player does not need to force the upper, endure pain, or use water and high heat to make progress.
- Start with the correct fit
- Wear match socks
- Begin indoors
- Add light ball work
- Adjust lacing when needed
- Protect hot spots early
- Avoid water soaking and high heat
- Test the correct outsole on the correct surface
Explore our Soccer Shoes collection to compare firm ground, artificial grass, soft ground, and turf options. If you need help choosing a surface, fit, or product option, use the WhatsApp button in the lower-right corner to speak with us about your purchase.
PROJECT INQUIRY
Discuss Your Soccer Shoes Project
Share your surface, sizing, product, or purchase requirements with bootswave.
OTHER ARTICLES
More Soccer Cleat Guides
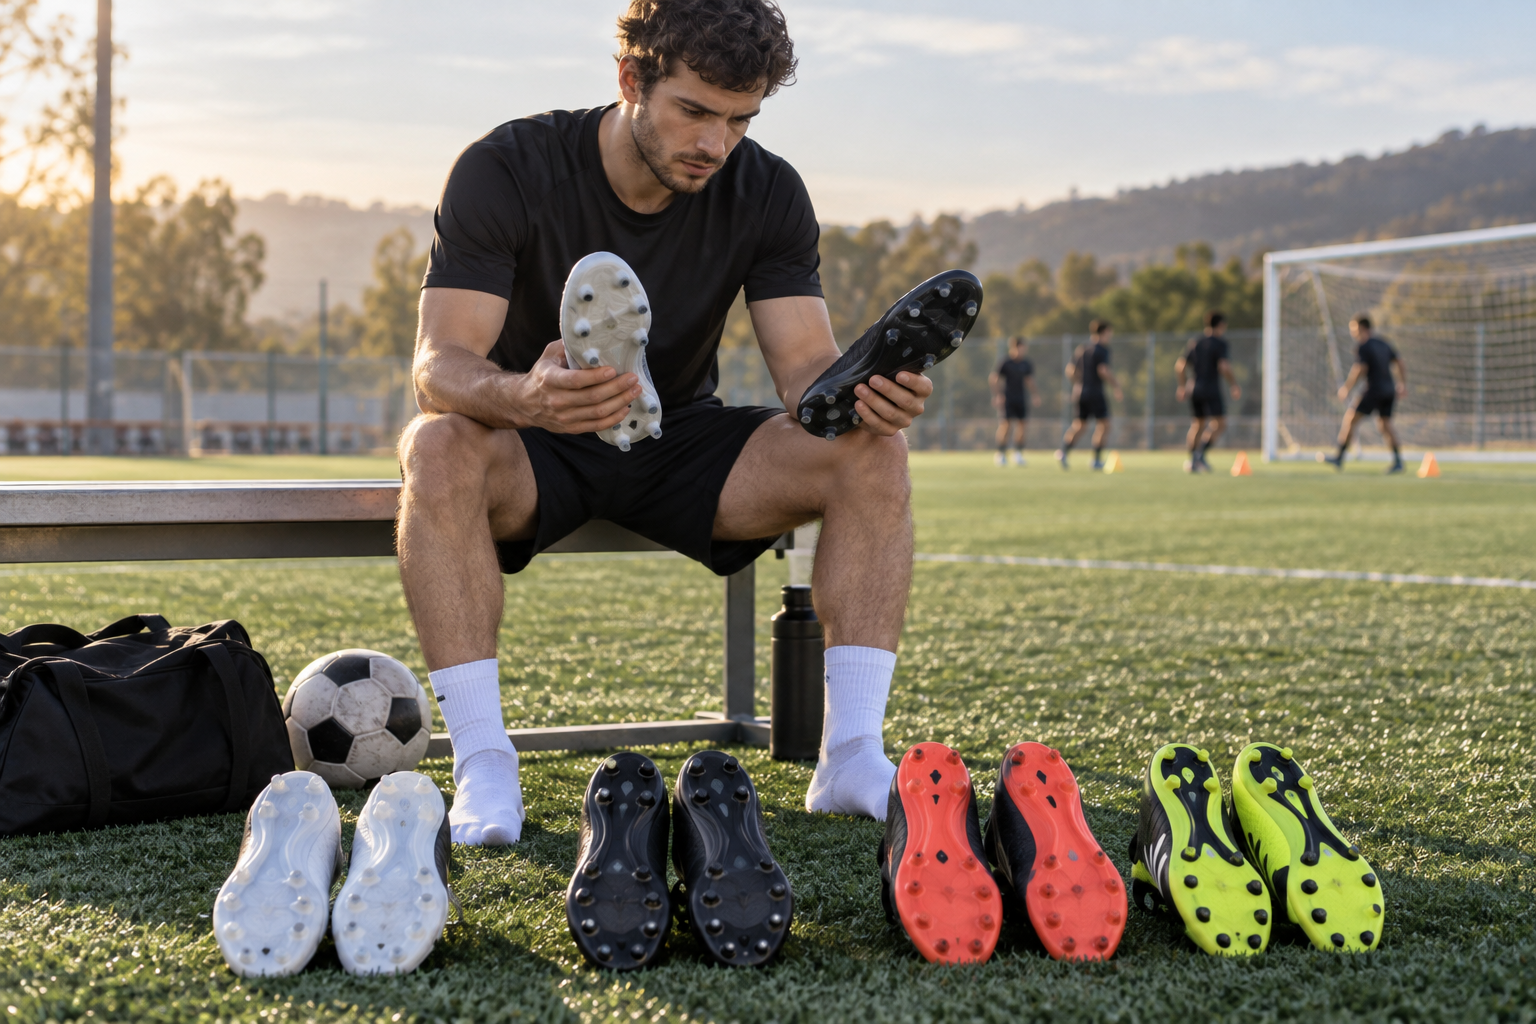
How to Choose Soccer Cleats
Use surface, fit, and outsole checks to choose soccer cleats.
Read guide →
How Should Soccer Cleats Fit?
Review heel hold, toe room, and comfortable forefoot width.
Read guide →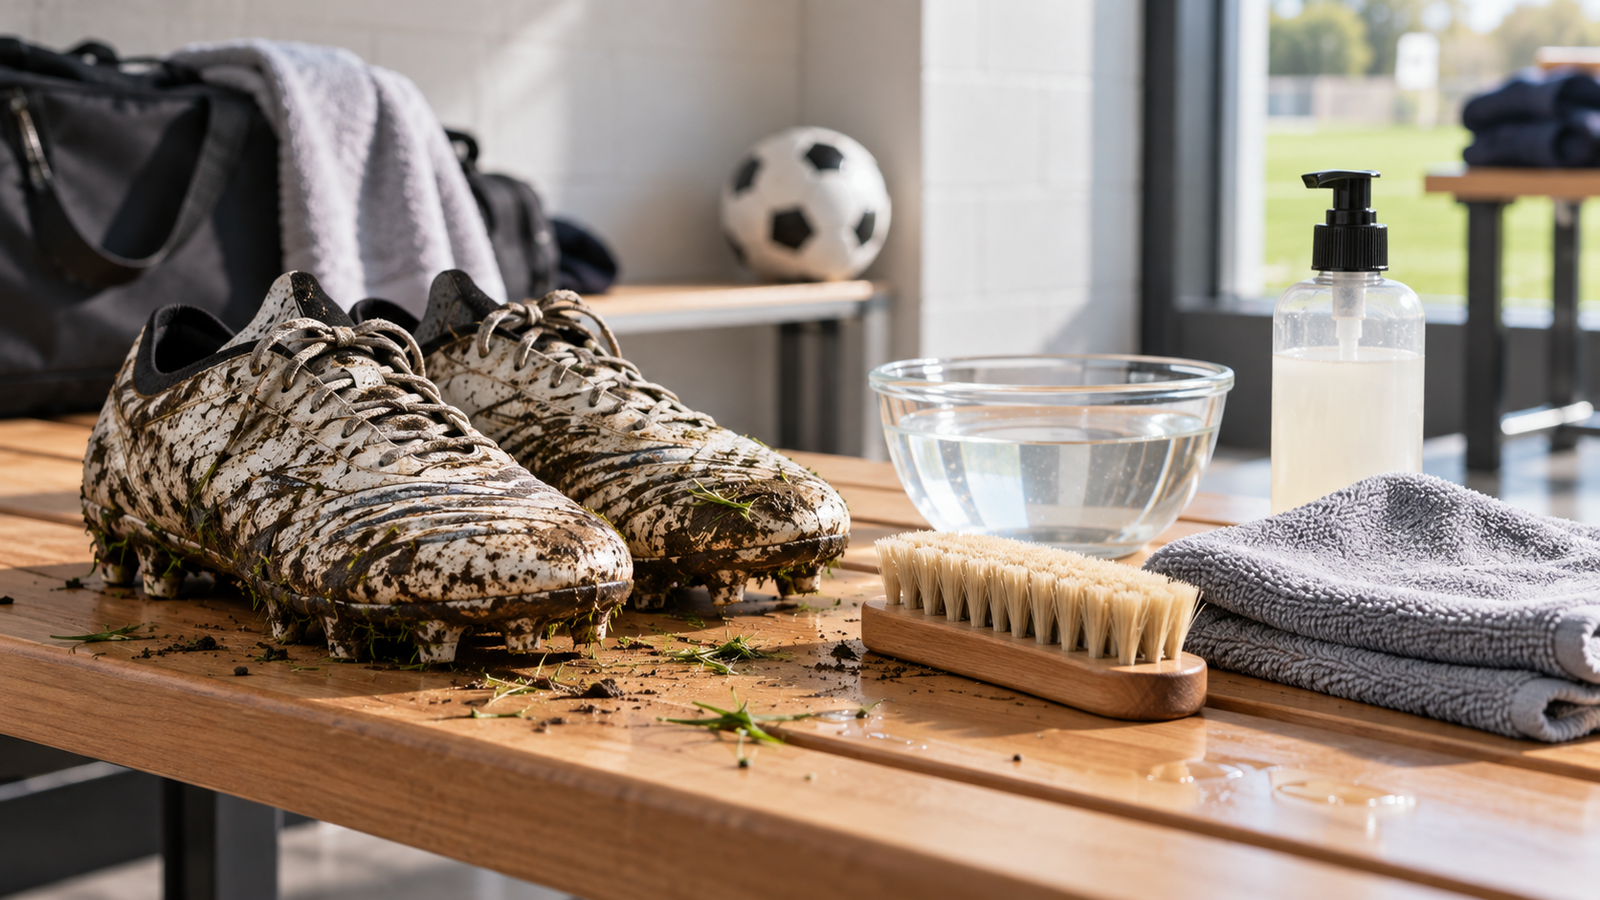
How to Clean Soccer Cleats
Keep shoes ready with gentle cleaning and careful drying.
Read guide →Can You Wear Soccer Cleats on Artificial Turf?
Compare surface, outsole, and facility checks before play.
Read guide →Firm Ground vs Soft Ground Cleats
Understand natural-grass footwear categories and field conditions.
Read guide →What Are Turf Shoes?
Learn where TF soccer shoes fit into field selection.
Read guide →FIT NOTE
How to Break In Soccer Shoes
For players, the terms soccer shoes and soccer cleats often describe the same break-in question. Start with a correctly fitting pair, normal match socks, and short low-intensity wear. Allow the upper and lacing setup to adapt through ordinary movement instead of using soaking, direct heat, or a full match as the first test.
Is breaking in soccer shoes different from soccer cleats?
The same fit-first approach applies. Begin with short sessions, inspect hot spots, and stop if sharp pain or numbness continues. Review how soccer cleats should fit before adding more activity, then use the cleat care guide to keep the pair dry and ready between sessions.
