SOCCER CLEAT FIT
How Should Soccer Cleats Fit? A Four-Zone Check
Soccer cleats should feel close and secure at the heel and midfoot while leaving your toes uncrushed and your forefoot free of painful side pressure. Test both feet in match socks, then walk, stop and turn; a size label alone cannot confirm the fit.
Published: September 19, 2026 · Updated: November 1, 2026
Quick Reference
- Try both feet in match socks
- Toes must not press hard into the front
- Heel should stay seated
- Check forefoot and instep pressure
- Walk, stop and turn before deciding
- Use the exact model size guide
START WITH SIZE
Measure both feet, then try the real pair
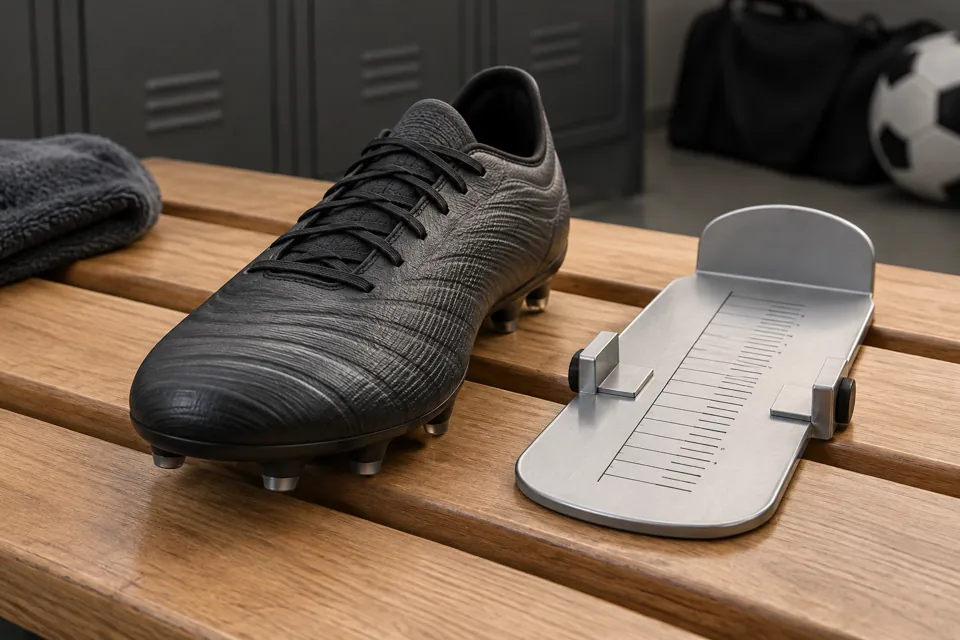
Start with foot length, especially when buying online. Stand on paper on a hard floor, mark the longest toe and back of the heel, and measure the distance. Repeat for both feet and compare the longer foot with the exact model’s size chart. Nike’s soccer size guide gives a standing measurement method; adidas’s boot guide also recommends trying both shoes. Their charts apply to their respective products, not to every brand or model.
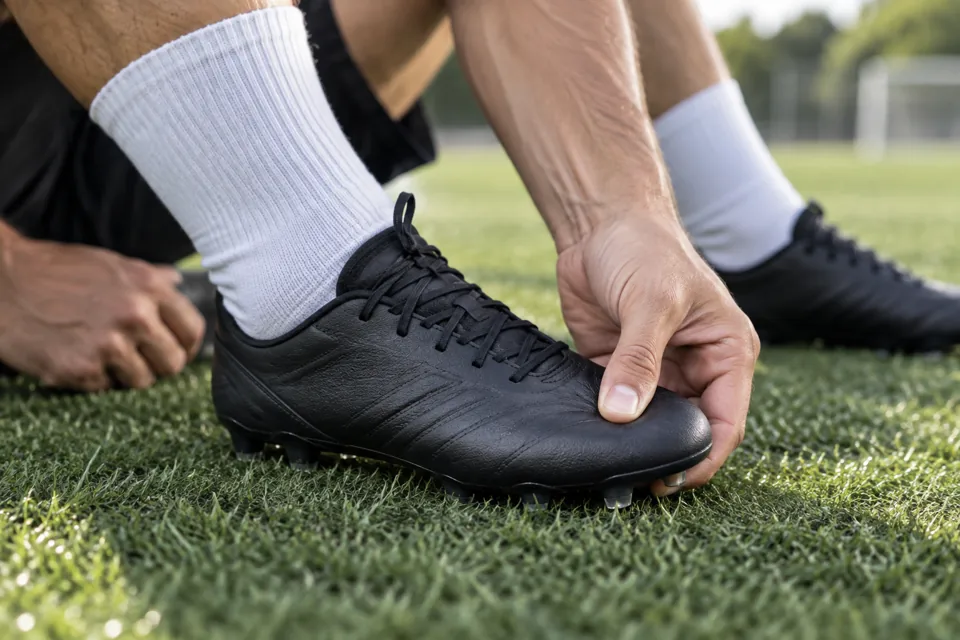
Put on the socks you normally use for matches, plus ankle guards if you wear them. Lace the shoe evenly and stand with your weight on both feet. A soccer boot may feel closer than a casual sneaker, but the toes should not be bent or forced into the front. Do not use a fixed “thumb width” rule borrowed from running shoes; judge the actual toe shape and movement in this model. Fit preferences vary, yet pain and numbness are stop signals rather than a desirable tight fit.
If buying for a growing child, avoid excessive extra length that makes the heel slide or the toes grip inside the shoe. Recheck fit as the child grows instead of expecting one oversized pair to cover many seasons. The parent buying guide addresses that decision separately.
FOUR ZONES
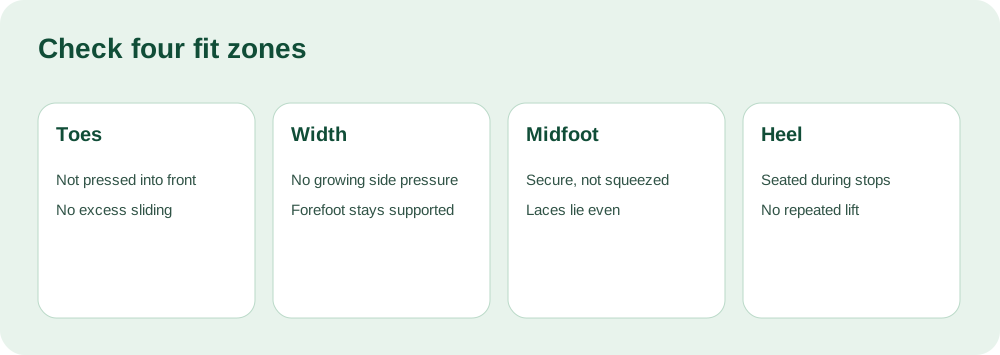
Check toes, forefoot, instep and heel separately
| Zone | What good fit feels like | Reason to retry |
|---|---|---|
| Toes | Can lie naturally without hard front pressure | Curled toes or repeated toe impact |
| Forefoot width | Supported without a sharp side pinch | Little-toe or first-joint pressure |
| Midfoot and instep | Secure after even lacing | Top pressure or foot sliding sideways |
| Heel | Stays seated in a short stop | Repeated lifting or rubbing |
These are diagnostic zones, not four independent sizes. A longer size can relieve toe-end pressure but often creates excess length when the real problem is width. A wider shape may address a side pinch without sacrificing heel hold, though it depends on the model. Read the wide-foot fit guide when the sides are the main problem. If only the top of the foot hurts, loosen and redistribute the laces before rejecting the shape; do not overtighten them to stop a loose heel.
MOVE IN THEM
A short movement test exposes hidden slip and pressure
After a comfortable standing check, walk around, rise onto the toes, make controlled side steps and stop gently. Adidas specifically advises walking in both laced shoes during try-on. Your heel should not lift repeatedly and the foot should not shoot into the front. The upper should flex where your foot bends without a hard ridge. Test on a safe, permitted surface and follow the store’s return policy; a clean indoor try-on is enough to reject an obvious bad fit.
Try again after several minutes if the shop permits. A pressure spot that grows worse as you move is more informative than the first second out of the box. Minor unfamiliar stiffness can change, but a painful toe box, numbness or pronounced heel slip should not be dismissed as “break-in.” See Do Soccer Cleats Stretch? for material-specific limits. Do not depend on future stretching to correct the wrong size.
If the two feet differ, prioritize the foot that needs more room without letting the other heel float. Different lacing or a different model may solve the mismatch; stacking thick insoles or socks merely to fill a large shoe can create other pressure. A qualified fitter or clinician is appropriate if persistent pain continues across models.
PRACTICAL DECISION
Diagnose the symptom before changing size
If the toes hit the front when standing, compare the next length and check the maker's size chart. If the toe length is comfortable but the side of the forefoot burns, changing to a longer size may create heel slip without giving the right forefoot shape. Compare another last or upper instead. Pressure directly under the laces can indicate too little instep volume or an uneven lacing pattern; try a modest adjustment, but reject a shoe that only feels tolerable when it is barely secured.
Heel movement needs its own test. Walk briskly, rise onto the toes and make a controlled stop. Some small movement can occur, but repeated lifting or sliding that makes you grip with the toes is a poor sign. Retighten the laces once, then compare a different model if the problem remains. Do not assume a thick sock will permanently solve a fundamentally loose shoe.
Try both feet at a time of day when you can move naturally and use your usual match socks. Keep the shoes on long enough to notice whether pressure grows. Check the actual pair's outsole for the field before purchase: a perfect upper fit does not make an unsuitable plate appropriate. For online buying, request the model-specific size chart, availability of adjacent sizes and return conditions before wearing the boots outdoors.
Pay attention to the larger foot and the narrower heel separately. Many players have feet that differ slightly in length or shape. Fit the larger foot without crushing its toes, then check whether the other shoe still holds its heel. If the second shoe swims, a different model shape may solve the mismatch better than downsizing both. Do not put excessive padding into a shoe without confirming it stays secure during movement.
A good fit check is repeatable: same socks, same lacing tension, same short walk and stop in each candidate. Write down where pressure appears after several minutes. That record is more useful than remembering that one pair “felt fast” for a few seconds in a shop.
MODEL AND FIELD
Fit the exact shoe, then confirm its outsole
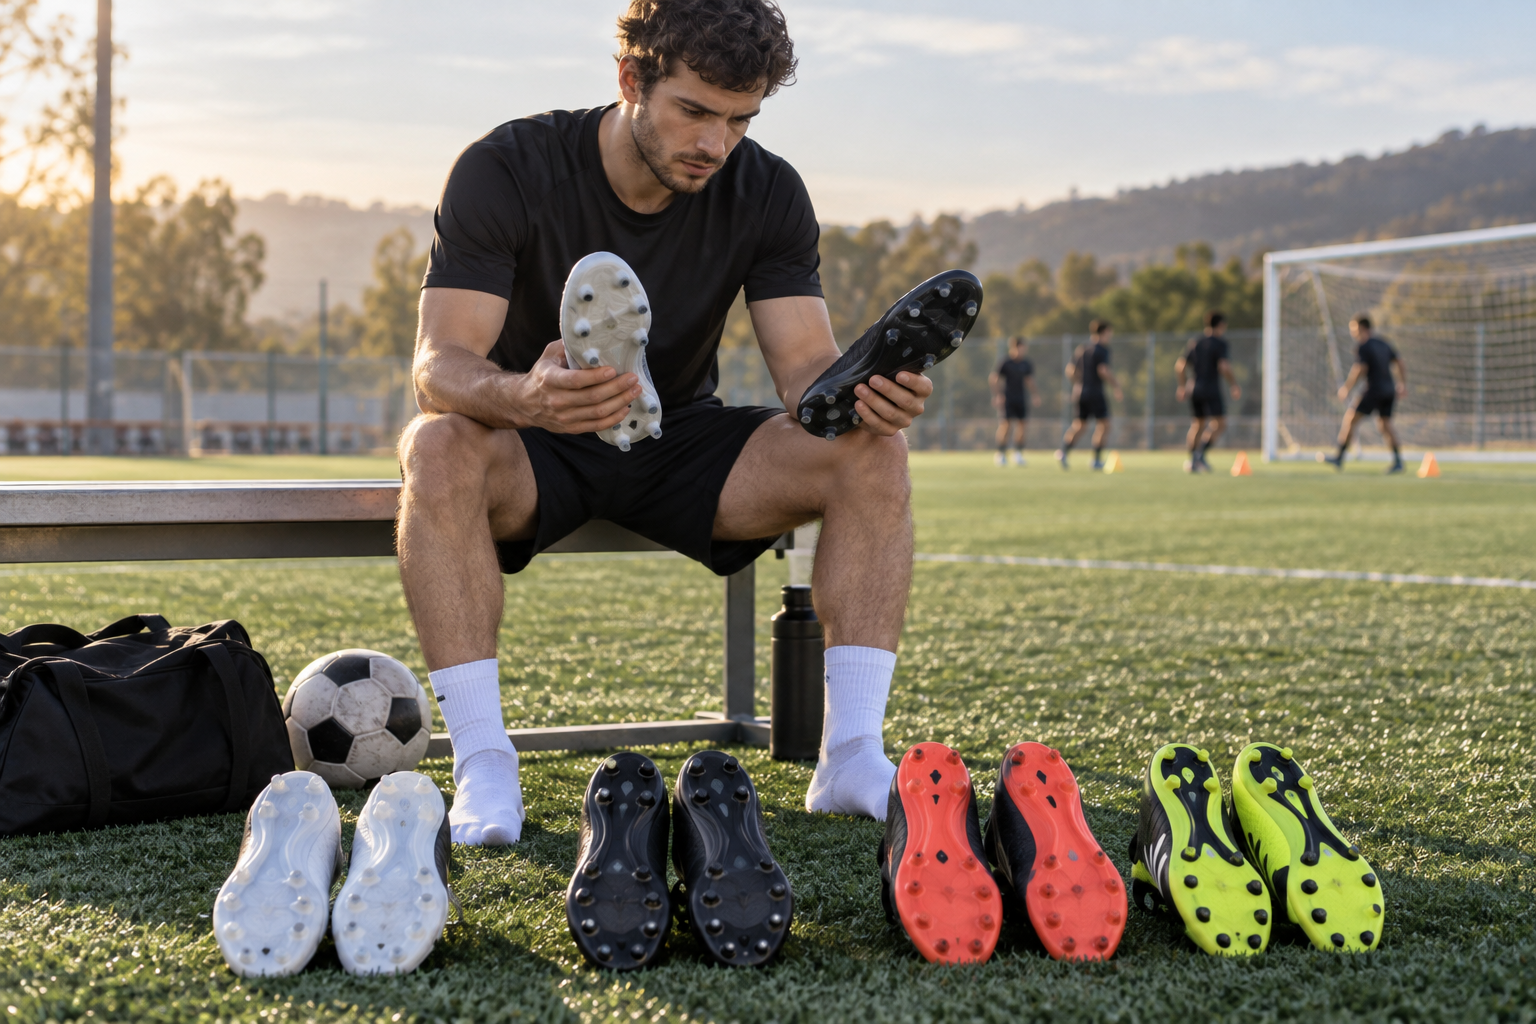
The same brand may sell a low-collar and high-collar version, different uppers or different stud plates under one family name. Try the exact version you intend to buy. An upper that feels soft in a product photo may still squeeze your instep; a higher collar is not a substitute for heel fit. The intended playing surface is a separate gate: an FG, AG or TF sole must suit the field and venue even when the upper fits perfectly. Use the soccer-cleat buying sequence for that surface decision.
When comparing two sizes, record a simple result for each: toes, side pressure, top pressure and heel movement. Keep the pair that passes all four during movement. If neither does, change the model rather than accepting pain or sliding. For one-pair availability and price from bootswave, send your foot length, usual match socks, candidate model, size and delivery country through the form below or WhatsApp. We can confirm options; we cannot verify fit without your try-on.
FAQ
Frequently Asked Questions
Should soccer cleats feel tight at first?
They should feel close and secure, but not painful, numb or toe-crushing. Do not rely on break-in to correct a poor fit.
How much room should be in front of my toes?
Enough for toes to lie naturally without hard pressure, while avoiding excess length that lets the foot slide. The exact amount varies by model and foot shape.
What if my heel slips but my toes fit?
Try even lacing and a different model or size. Do not accept repeated heel lift just because the toe length seems right.
SUMMARY
Keep all four zones comfortable under movement
A secure heel and midfoot, natural toes and pressure-free forefoot are a better fit signal than the printed size alone.
Compare shapes in the wide-foot guide if side pressure is your main issue.
PRODUCT QUESTION
Ask About One Item or a Team Order
OTHER ARTICLES