PARENT BUYING GUIDE
Kids Soccer Cleats: A Parent's Field and Fit Checklist
Buy the pair your child can use comfortably on this season's field. Measure both feet, choose an outsole the venue allows, and check toe space, side pressure and heel hold while your child moves. A larger size bought for future growth is not a good deal if the foot slides today.
Published: September 21, 2026 · Updated: November 1, 2026
Quick Reference
- Confirm the real field first
- Measure both feet in match socks
- Allow natural toe movement
- Reject heel slip and painful pressure
- Let the child test the closure
- Recheck fit during the season
FIELD FIRST
Match the sole to the child's actual pitch
Ask the coach or facility which surfaces the child will play on and which footwear is permitted. A firm natural-grass pitch, a longer artificial-grass field, short carpet-style turf and a smooth indoor court can require different outsoles. An FG label is not a universal answer to every synthetic field. adidas's kids' shoe guidance separates firm ground, artificial ground, turf and indoor shoes; the exact product label and venue rule still decide what works for a particular field.
When a child trains on two surfaces, write down the weekly schedule before shopping. Compare the exact model's stated uses with both fields. A multi-ground label is useful only if the maker lists the surfaces you actually need and the facility accepts that sole. Buying a second pair may be necessary if one approved outsole cannot cover the schedule; do not assume a model name guarantees the same plate in every version. Our general buying guide explains outsole categories in more detail.
For a first season, spend effort on field approval and fit before color or a favorite player's boot. A premium upper cannot make an unsuitable plate appropriate for the venue. Ask whether the child needs outdoor cleats at all if the program is indoors or on a hard court.
SIZE TODAY
Measure for this season, then test usable growth room
Measure both feet while the child is standing, and fit the longer foot. Use the socks they wear at practice. Start with the exact model's size guide, then have the child stand in both shoes with the closures secured. adidas advises measuring both feet under weight and leaving some comfortable room for growth. That guidance is a starting point for its products, not a fixed measurement that fits every brand or foot shape.
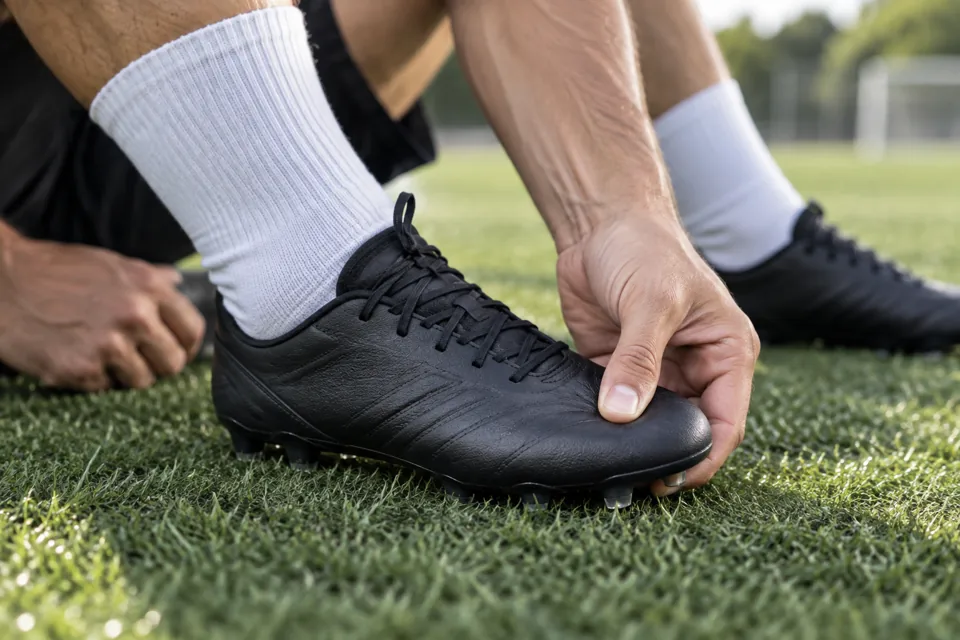
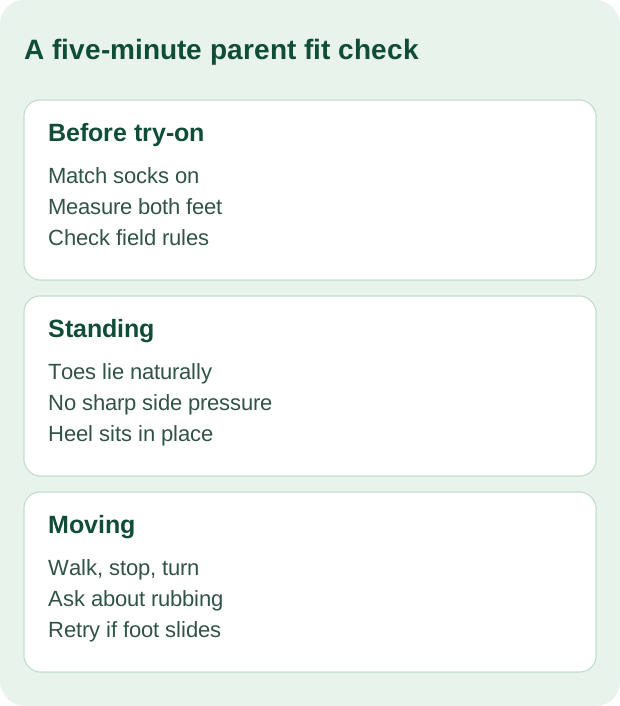
Look for toes that lie flat instead of curling or pressing against the front. Check both sides of the forefoot and the top of the foot for pinching. Ask the child to walk, stop and make a gentle turn; the heel should remain seated. If the toes have space but the foot slides into the front, the pair is still too large or the shape is wrong. If the sides hurt, simply adding length may create heel slip without solving the width problem. Use the four-zone fit check to locate the pressure.
Children do not always describe pressure precisely. Ask where the shoe feels different, watch for repeated adjusting, and inspect for rubbing after the try-on. A little extra room is useful only while the shoe remains secure during movement. Do not count on a painful pair stretching or a loose pair becoming safe once the child grows. Re-measure when the child reports discomfort or the fit changes; a calendar alone cannot tell you when that happens.
CLOSURE
Choose a closure the child can actually use
Laces can spread pressure over the instep and be adjusted, but they must stay tied. Hook-and-loop straps or combined closures may be easier for a younger player, provided they hold the midfoot and heel. A laceless shoe depends more heavily on its original shape. Have the child put on, fasten and remove each candidate pair with the level of help available at practice.
Retest fit after the child closes the shoes, not only after an adult tightens them. If the heel lifts, try even lacing or a different shape before accepting an uncomfortable knot. If a strap barely reaches its fastening area or peels open while the child moves, the closure is not working for that foot. Check that sock and shin-guard arrangements do not bunch under the shoe opening. The laced versus laceless comparison covers the tradeoff without treating one closure as automatically better.
PRACTICAL DECISION
A parent and child try-on that catches false growth room
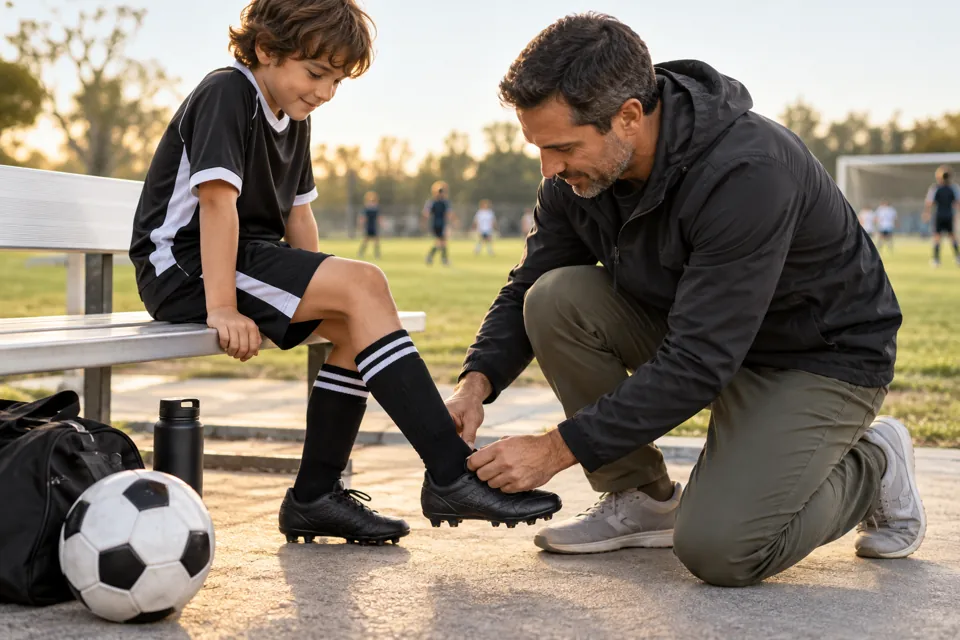
Have the child wear the socks used for practice and stand in both shoes. Check the space at the longest toe while weight is on the foot, then ask the child to walk, jog lightly and stop. Watch the heel instead of relying only on the child's “feels fine.” A shoe bought far too long for growth may let the heel lift and the foot slide forward, making the child grip with the toes. A shoe that pinches today is not a good choice just because it may “break in.”
Ask the child where the shoe feels tight: toes, sides, top or heel. Children do not always describe fit precisely, so compare the response after a few minutes. Test the actual closure the child can manage independently. A secure lace or strap matters at practice when a parent is not nearby to retie it.
Then confirm the coach's or venue's permitted outsole for the fields in the current season. If the schedule includes both short turf and natural grass, do not assume one pair covers both. Check total cost and return terms, and keep the receipt until the child has tested the fit indoors. Re-measure as needed during the season rather than buying a large pair in advance.
BEFORE PAYING
Inspect the actual pair and the total cost
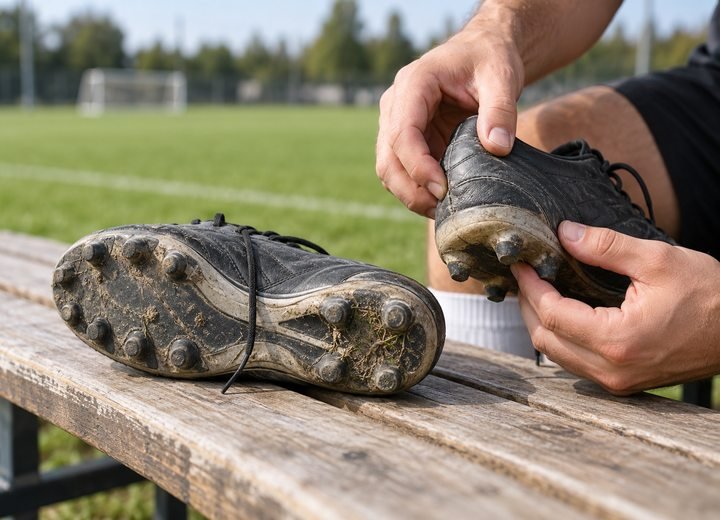
Look at the exact outsole, not just the online product name. Confirm the size, surface marking, closure and return terms for that version. Gently check that the sole is attached, studs are intact and the upper has no hard seam against the foot. If buying used cleats, inspect wear and the previous owner's foot-shaped creases; a lower price does not help if the boot already fits another foot or has a damaged plate. The used-cleat checklist covers that inspection separately.
Compare what the child can actually wear now with the price, delivery and possible return cost. An expensive tier does not correct the wrong size or sole. If the child plays often, check the shoes periodically for worn studs, loose outsole edges and changing fit; replace them when the shoe no longer holds the foot or remains suitable for the field. For one pair from bootswave, send the child's standing foot length, match sock, playing surface, preferred closure, size and delivery country through the form below or WhatsApp. We can confirm options and price; we cannot certify fit without the child's try-on.
FAQ
Frequently Asked Questions
Should I buy kids soccer cleats one size larger?
Not by default. Leave comfortable toe room, but reject a pair that lets the heel lift or foot slide during a short movement test.
Do children need separate cleats for artificial grass?
Check the exact field, shoe maker's stated surface use and facility rule. AG, MG and TF labels cover different synthetic surfaces and are not interchangeable by name alone.
How often should I check my child's cleat fit?
Recheck whenever the child reports pressure, rubbing or sliding, and inspect again through the season as the feet and shoes change.
Are expensive youth cleats necessary?
No particular price tier substitutes for an approved outsole, comfortable current fit and a sound shoe. Compare those first, then price and return terms.
SUMMARY
Buy for today's field and today's foot
A suitable youth cleat is approved for the child's field, holds the heel while moving and leaves toes uncrushed without excess sliding.
Use the fit guide if one pressure area is hard to diagnose.
PRODUCT QUESTION
Ask About One Pair or a Team Order
OTHER ARTICLES